
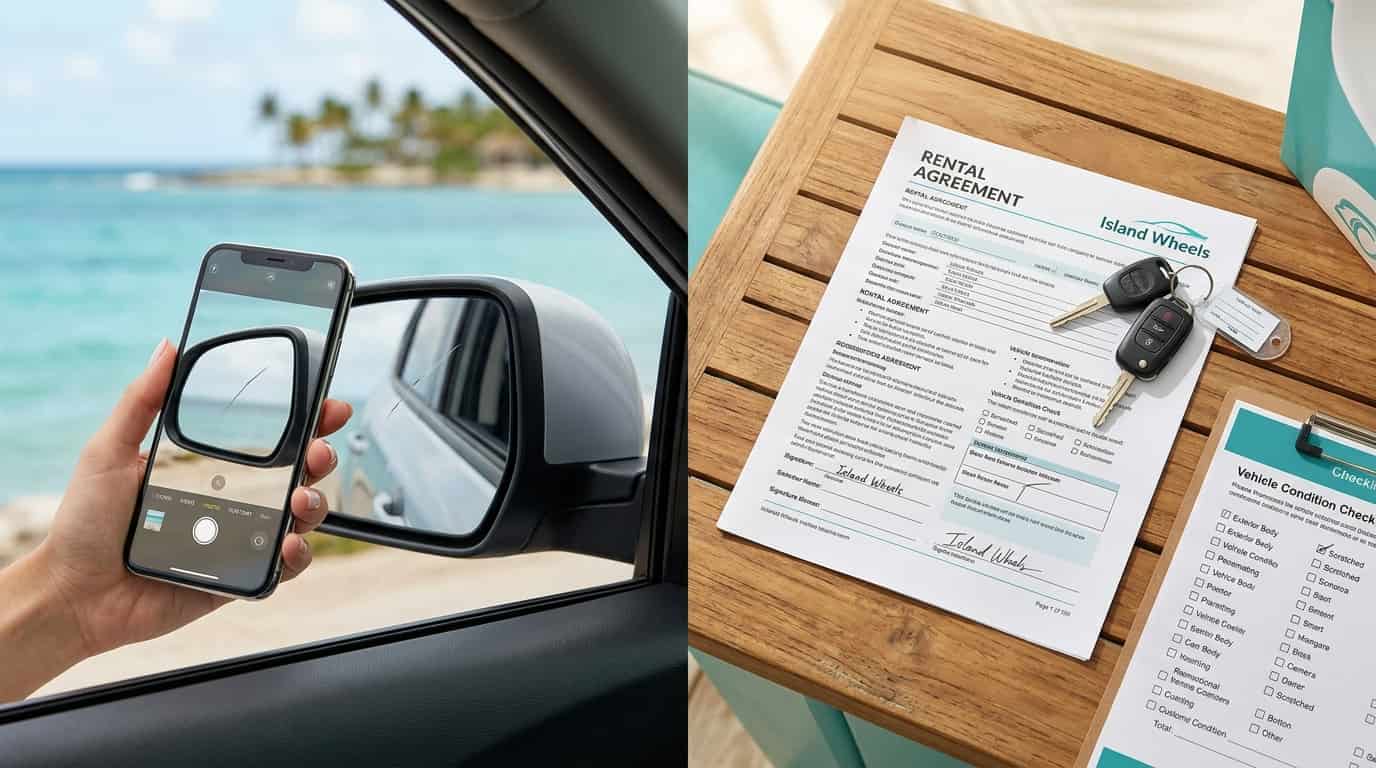
You’ve just landed at Lynden Pindling International Airport (NAS), cleared customs, and picked up the keys to your rental car. The warm Bahamian breeze and the promise of turquoise waters are calling. But before you pull out of the lot, take a deep breath and give yourself ten minutes. This brief, systematic check can be the most important part of your rental, protecting you from unexpected charges and ensuring your vehicle is safe for navigating Nassau’s unique driving conditions.
At Native Quest Rentals, we believe a smooth journey starts with a thorough handover. This guide will walk you through a simple, professional inspection to ensure you’re driving away with confidence.
Why a Pre-Drive Check is Non-Negotiable in Nassau
A pre-trip inspection isn’t just a formality; it’s your best defense against two common rental headaches: disputes over pre-existing damage and driving a car that isn’t fully roadworthy.
- Protection Against Damage Claims: The most common dispute in car rental is over who caused a scratch, ding, or scuff. Rental lots are busy, and it can be easy for staff to miss small marks during the turnaround between customers. By documenting the car’s condition yourself, you create a clear record that protects you from being charged for damage you didn’t cause.
- Your Safety on the Road: The car you’re about to drive is an unfamiliar machine. Taking a moment to familiarize yourself with its controls, blind spots, and safety equipment can be the difference between a relaxing drive and a dangerous situation. This is especially important in a place like Nassau, where you’ll be driving on the left-hand side of the road in a car that is often left-hand drive (American-spec). This can be disorienting for visitors, and you don’t want to be distracted by an unfamiliar dashboard while navigating a roundabout.
Your 10-Minute Pre-Drive Checklist
Here is a step-by-step guide to your vehicle inspection. Follow it every time, whether you’re renting a compact car for a solo trip or an SUV for the whole family.
Step 1: The Paperwork and Condition Report
Before you even look at the car, ask the agent for the vehicle’s condition report (often called a “walk-around form”). This document has a diagram of the car where existing damage is noted.
- Review and Compare: Carefully read the condition report and then compare it to the actual car. Don’t just check the major panels; look at door edges, wheel rims, and the lower parts of the bumpers where scuffs are common but might be missed.
- Challenge Omissions: If you find a scratch, chip, or scuff that is not on the report, insist it be added before you sign anything. Do not accept a verbal assurance that “it’s too small to note.” The agent helping you today won’t be the one inspecting the car upon its return.
Step 2: The Exterior Walk-Around
Now, it’s time for a thorough physical inspection. Don’t rush this step. Walk around the car slowly and in good lighting.
- Document Everything with Photos: This is the single most important thing you can do. Use your smartphone to take a photo and a short video.
- Wide Shots: Take photos of every side of the car from a distance to establish its overall condition.
- Close-Ups: Zoom in on any and all pre-existing damage—scratches, dents, paint chips, scuffed wheel rims. This includes the windscreen and other glass for chips or cracks.
- The “Incriminating” Video: Take a slow, 360-degree video walk-around of the car. As you film, verbally note the date, time, and location. For extra protection, hold the rental agreement in front of the camera at the start of the video. This is incredibly difficult for a rental company to dispute.
- Check the Tires and Wheels: Tires are a common point of contention and a critical safety component. Look at each tire, including the sidewalls, for any bulges, cuts, or bald spots. Check for curb rash or damage on the rims. Make sure the spare tire (or tire repair kit) and jack are present in the trunk.
Step 3: The Interior and Controls Walk-Through
Get into the driver’s seat. This is your chance to familiarize yourself with the vehicle before you hit the road.
- Learn the Controls: Rental cars are all different. Before you start the engine, locate and test the:
- Confirm Fuel and Mileage: Check the odometer reading and fuel gauge. Make sure they match what is written on your rental agreement. Photograph the dashboard showing the fuel gauge and odometer.
- Adjust Your Settings: Adjust the seat, steering wheel, and all mirrors to your preference before you move the car. Driving with misaligned mirrors creates dangerous blind spots.
Step 4: Understand the Vehicle’s Size and Dimensions
An unfamiliar car’s size can drastically affect how it handles, especially on Nassau’s narrower streets and when parking.
- Check Blind Spots: Sit in the driver’s seat and have someone walk around the car while you observe when they disappear from your mirrors and windows. This helps you understand the vehicle’s specific blind spot geometry.
- Note the Width and Length: Is this car larger or wider than what you usually drive? Be aware of its size when navigating traffic, parking, and taking tight turns, especially if you’ve upgraded from a compact to an SUV.
Final Checklist Before You Go
Before you shift into drive, run through this final list:
- □ I have a signed condition report.
- □ I have added and recorded all pre-existing damage on the report.
- □ I have taken a full video and photos of the car’s exterior, interior, and dashboard.
- □ I have tested the headlights, wipers, and air conditioning.
- □ I know how to operate the car’s features and understand its blind spots.
- □ I have confirmed the fuel policy is full-to-full and the tank is full.
Hit the Road with Confidence
By investing just ten minutes in this preparation, you’re setting yourself up for a stress-free rental experience. You’ll be protected from unfair damage charges and, more importantly, you’ll be safer and more confident on the road. For your next rental, trust Native Quest Rentals for our commitment to reliable vehicles, transparent service, and making your journey around Nassau as smooth as possible. We offer a wide range of vehicles, from budget-friendly compacts to spacious SUVs for families, and we proudly provide free delivery in Nassau.